Tree Care
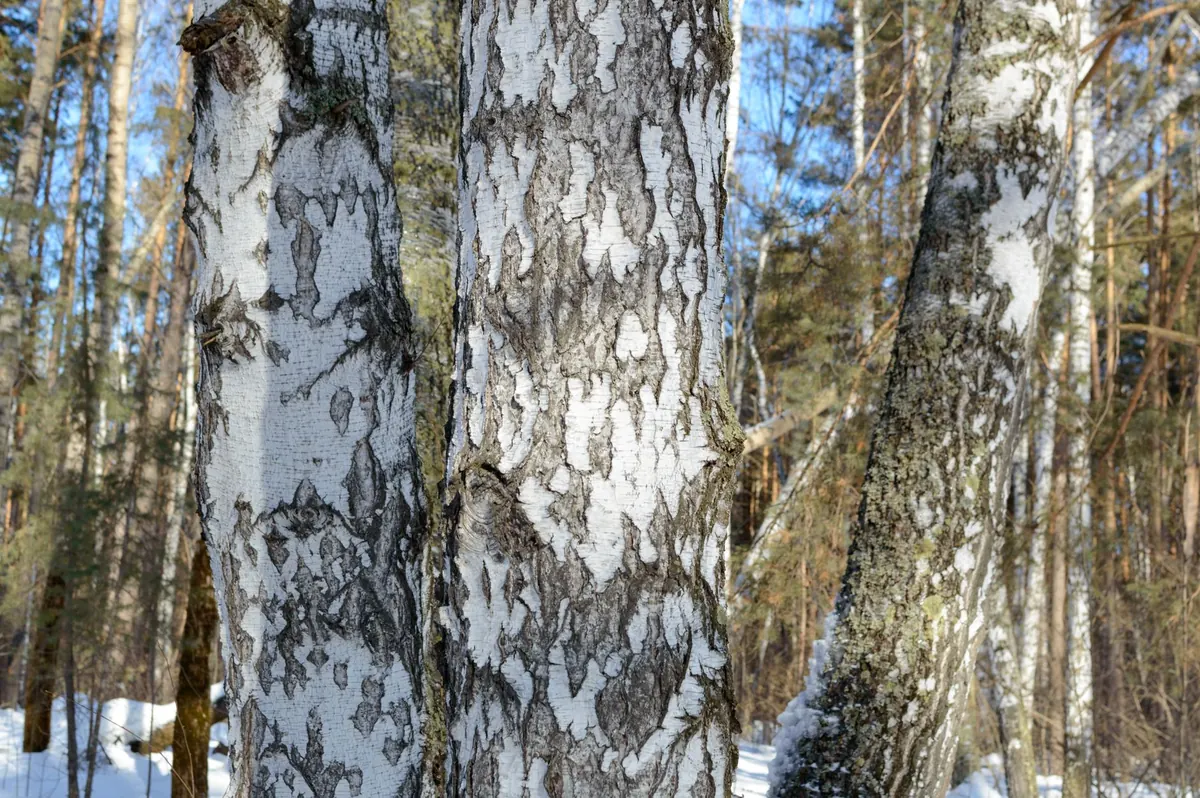
How to Prune a Young Birch Tree in Late Winter Without Causing Sap Bleed
A young birch is an easy tree to love and a surprisingly easy one to wound. Planted three or four winters ago, it is finally tall enough to shape. So you head out with the pruners, make one clean cut, and watch a thin line of sap start running down the trunk, staining that white bark in a long amber streak that lasts for weeks.
That outcome is avoidable. Birch sap rises under pressure and moves earlier than almost anything else in the yard, so the difference between a tidy prune and a weeping wound usually comes down to a couple of weeks on the calendar. Get the timing right, sanitize your tools, and use a proper three-cut technique on anything heavy, and you can shape a young birch during dormancy without leaving it dripping.
Why Birch Sap Runs So Early
Birches are bleeders. Along with maples, walnuts and elms, they push sap hard in late winter as the days lengthen and root pressure builds, often while snow is still on the ground and the soil is barely thawed. A cut made during that push does not just weep for an hour. It can run for days.
Bleeding is rarely fatal on an established tree, and it is not the same as losing blood. But on a young birch it matters more than it does on a mature one. The wound stays wet and open just as insects are waking up, it stains the bark, and it takes the tree longer to seal the cut. Stress also makes birch more attractive to borers, which is the last thing a young trunk needs.
Pick the Window, Not Just the Day
Your target is the tail end of dormancy: the last two to four weeks of winter, after the deepest cold has passed but before buds begin to swell and sap starts to move. In most cold-temperate climates that lands somewhere in late February or early March, though a mild winter can push it earlier and a hard one can hold it back.
Within that window, choose a mild afternoon with temperatures above freezing. Frozen wood is brittle and can shatter under a blade, and a thawed cut closes more cleanly. Avoid pruning during a hard freeze, and avoid the first warm week when buds are visibly breaking. If you miss the window entirely, wait until mid to late summer, after the leaves have matured. Bleeding is minimal then and the tree is not spending energy on new growth, though wounds heal more slowly.
Reading the tree
Before you cut anything, walk the whole tree slowly and look up. A young birch usually needs structure work, not size reduction. Note the dead twigs, the two branches rubbing in the wind, the pair of stems competing for the same space at the top. Decide now which cuts you will make. On a tree this young, one or two structural cuts plus cleanup is often the entire job.
Clean, Sharp Tools and Real Sanitation
Birch bark is thin and marks easily, so a crushed cut is worse than no cut at all. Bring the right tools for the diameter in front of you:
- Bypass pruners for twigs and branches up to about half an inch.
- Bypass loppers for branches up to roughly two inches.
- A fine-toothed pruning saw for anything thicker, and for tight spots where loppers will not fit.
Skip anvil pruners, which crush the wood instead of slicing it. And sharpen before you start; a dull blade is what tears bark.
Sanitation is quick and worth the trouble. Wipe the blades with 70 percent isopropyl alcohol, or dip them in a diluted bleach solution and then rinse with clean water so the metal does not corrode. Let the tool air dry, and oil the pivot at the end of the day. Clean between trees, and after any cut through wood that looks discoloured, sunken or cankered. A small spray bottle of alcohol in your bucket makes this a two-second habit instead of a chore.
The Three-Cut Method, Step by Step
Any branch heavy enough to tear bark as it falls should come off in three cuts, not one. The first two are sacrificial; only the third is the cut that matters.
- Undercut. Somewhere 12 to 18 inches out from the trunk, cut upward into the underside of the branch, about a third of the way through. This notch is what stops the bark from peeling down the trunk when the branch drops.
- Top cut. Move a couple of inches further out from the trunk than the undercut and cut down from above. The branch will fall. The remaining stub is now light enough to handle safely.
- Final cut. Take off the stub at the branch collar, the slightly swollen ring where the branch meets the trunk. Cut just outside it, at a gentle angle that follows the collar rather than the trunk.
Where the final cut belongs
The branch collar is the tree's own sealed door. Flush cuts remove it, and stubs above it die back and invite rot into the trunk. Work to the collar, no closer and no further. Small twigs under a pencil's width do not need three cuts; one clean snip at the right spot is enough.
Skip the wound paint
Do not seal the cut, and do not wrap it with tape. Birch compartmentalizes its own wounds, and a coating traps moisture underneath and slows that process down. Leave the cut exposed to the air.
What to Remove on a Young Birch
Structure first, always. Work in this order:
- Dead, broken or diseased wood.
- Branches that cross, rub or grow back into the centre of the crown.
- One of any pair of co-dominant stems, while both are still small enough to cut with hand tools.
- Branches with a narrow V-shaped crotch and bark pinched between them, which will split later.
- Suckers and water sprouts coming off the base or straight out of the trunk.
Remove no more than about a quarter of the live canopy in a single year. And go easy on limbing up the trunk. It is tempting to raise the crown for a cleaner look, but birch bark is thin, and too much sun on a suddenly exposed trunk can scald it. Keep the lower third of the crown intact where you can. Never top a birch or shear the crown flat; the regrowth is weak and ugly.
If It Bleeds Anyway
You made the cut and the sap is running. Leave it alone. Do not plug the wound, wrap it or paint over it. A clean cut placed correctly above the collar will seal on its own, and the staining will weather off the bark in time.
Keep an eye on the tree over the following weeks, and give it deep water during dry spells. A three-inch layer of mulch over the root zone, pulled back a few inches from the trunk, helps more than anything else you can do. If the canopy thins, the bark develops unusual ridges or you notice small D-shaped holes, have a certified arborist look at it — borer trouble is easier to manage early.
A Short Checklist for Next Winter
Wait until the last weeks of dormancy, but not a day longer. Choose a mild afternoon above freezing. Sharpen and sanitize your blades. Cut dead and crossing wood first, cap yourself at a quarter of the canopy, and take every heavy branch off in three cuts. Then step back, look at the shape you have made, and put the tools away. A birch pruned this way barely notices, and the white trunk stays clean.
Photo: Mikhail Peace / Pexels