Tree Care
Planting Bare-Root Trees in Fall: A Beginner's Step-by-Step Guide
Bare-root trees look like a dare. What arrives is a stick with a spray of roots and no soil around it, and it is somehow supposed to become a shade tree. Plant it in fall, though, and the odds swing in your favor: the soil is still warm, the air is cool, and the tree has almost nothing to do but grow roots.
What follows is the sequence that matters, in the order you will actually do it. None of it is complicated. Most bare-root failures trace back to three things — roots that dried out before planting, a hole that was too deep, and a tree that was never watered again after the leaves fell.
Why Fall Suits Bare-Root Stock
A bare-root tree ships dormant. There is no soil ball to lose, no circling roots to untangle, and the root system you get is often wider and better branched than what fits into a nursery pot. Fall planting works because the two halves of the tree are on different schedules. Top growth has stopped. Soil temperatures stay workable long after the air turns cold, and roots keep elongating in that warm ground until it approaches freezing.
That gives a fall-planted tree weeks of root growth before winter, so it starts spring with a root system already partly connected to its new site. Timing is the whole trick. Plant after the leaves drop and at least four to six weeks before your ground typically freezes hard. Gardeners in very cold climates are the exception: if your soil locks up in early October, spring planting is the safer bet. Where winters are mild, fall is usually the better window.
Handle the Roots Like Something Alive
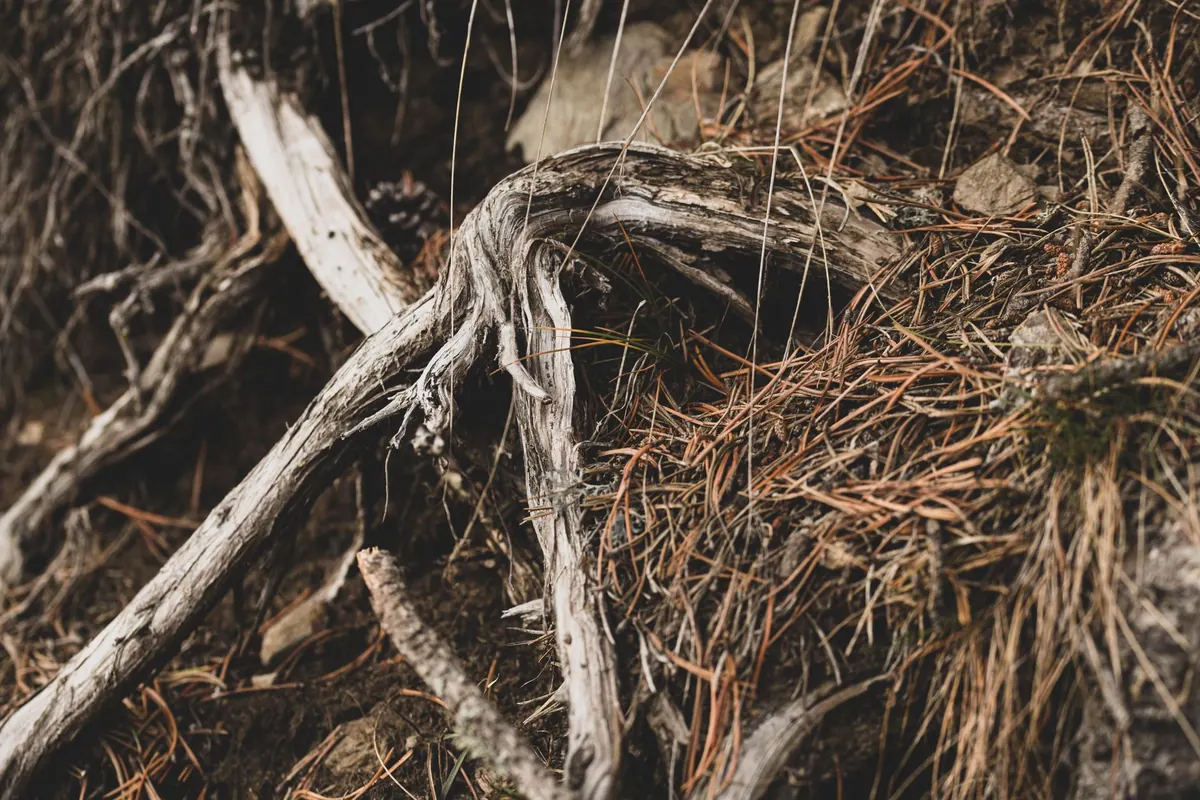
Unpack the tree the day it arrives. Bare roots are perishable, and wind and sun will strip moisture from the fine feeder roots faster than you would expect. If you cannot plant for a few days, "heel it in": dig a shallow trench, lay the roots in it, cover them with soil or damp sawdust, and water. Keep the bundle in shade either way.
Don't prune the top to "balance" the tree. Do trim anything obviously broken or mushy with clean pruners, cutting back to sound, pale wood. Leave the fine roots alone — those hair-thin strands are the ones that will do the drinking.
Soaking Before You Plant
Soaking rehydrates roots that have been out of the ground for days in transit. Two to six hours is plenty; overnight is fine. What is not fine is leaving a tree in a bucket for two days. Roots need oxygen, and a long bath in still water invites rot. Use a bucket of cool water deep enough to cover the whole root mass, and set it in the shade while you dig.
- Soak in plain water. No fertilizer, no bleach, no "root booster" powders.
- If the roots arrived packed in moss or hydrogel, rinse it off gently so you can see the root structure.
- Keep the roots covered with a wet burlap sack between the bucket and the hole. Even ten minutes of drying wind works against you.
Dig Wide, Not Deep
This is where most beginners go wrong, and it is an easy mistake to avoid. A planting hole should be roughly two to three times the spread of the roots in width, but no deeper than the root system actually needs. A deep hole lets the tree settle below grade, and a tree planted too low will sulk for years.
Before you dig, find the root flare — the slight widening where trunk meets root, usually marked by a faint soil line or a change in bark color. That line should end up level with the surrounding soil, or an inch or two above it to allow for settling. To check, lay a board across the hole and measure down.
Build a firm cone of soil in the center of the hole. Set the tree on top of it and drape the roots down and outward, spreading them the way they grew. If a root is too long for the hole, widen the hole rather than bending or coiling the root. Roots that are forced into a curve tend to keep growing in circles.
Backfilling, Step by Step
Use the soil you dug out. Native soil, crumbled and free of rocks and sod, is better backfill than a rich imported mix, because roots will happily stay inside a luxurious pocket instead of reaching into the surrounding ground. If your soil is genuinely poor, amend the whole planting area rather than just the hole.
- Hold the trunk vertical — a second person or a temporary stake helps — and check the planting depth one more time.
- Backfill in stages, working soil around and between the roots with your fingers. Don't leave air pockets.
- Fill the hole about halfway, then water slowly until the soil settles around the roots.
- Finish backfilling, and water again. Let water do the tamping. Stomping the soil with your boots compacts it and squeezes out the air roots need.
- Spread two to three inches of mulch over the planting area, keeping it a couple of inches clear of the trunk.
Staking: Support, Not a Crutch
Most bare-root saplings do not need stakes. Movement is how a young trunk builds taper and strength, and a tree strapped tight for two seasons grows up weak. Stake only if the site is genuinely windy, the tree is top-heavy relative to its roots, or it sits where it might get knocked over.
When you do stake, use two stakes set outside the root zone. Tie with something soft and wide — webbing or a piece of old hose — low on the trunk, and leave enough slack that the tree can still sway. Check the ties monthly for rubbing, and remove the stakes after one growing season.
Watering Through the First Winter
A new bare-root tree has a fraction of the roots it needs, so watering is not optional. Water it thoroughly at planting. Then water deeply once a week through fall whenever rain doesn't cover it, right up until the ground freezes. One long soak that reaches the root zone beats several light sprinkles.
In heavy clay, ease off — check the soil a few inches down before you reach for the hose, because soggy roots rot in winter. In sandy soil, you will likely need to water more often. Winter drying is real, especially with cold wind and bare ground, so a late-fall soaking before the freeze is one of the best gifts you can give a young tree. Mulch helps by keeping soil temperatures steadier through the freeze-thaw cycle, which reduces frost heaving that can push small roots right out of the ground.
If your area gets hard freezes and bright winter sun, protect smooth-barked species for the first year or two with a loose tree wrap on the trunk from the ground up to the first branches. Remove it in spring.
What to Do When Spring Arrives
Expect little the first year. A bare-root tree often spends its entire first season building roots and puts out modest growth above ground. Leaves that emerge slowly in spring are normal; leaves that never come are not.
In that first spring, check the trunk for dieback and prune only what is clearly dead. Pull the stakes if you used them. Keep watering through the first summer and the second, especially in drought. Skip fertilizer for the first year entirely — the tree doesn't need encouragement to grow leaves; it needs to grow roots. Get the planting depth, the soak, and the water right, and the rest of the tree's life is mostly a matter of patience.
Photo: Walter Cunha / Pexels